

Hello BMP3XX
bus_name = "i2c-1"
bus_address = 0x77

Mix.install(
  [
    {:bmp3xx, "~> 0.1.7"},
    {:circuits_i2c, "~> 2.0"},
    {:circuits_sim, github: "elixir-circuits/circuits_sim"},
    {:kino, "~> 0.12.2"}
  ],
  config: [
    circuits_i2c: [default_backend: CircuitsSim.I2C.Backend],
    circuits_sim: [
      config: [
        {CircuitsSim.Device.BMP3XX,
         [bus_name: bus_name, address: bus_address, sensor_type: :bmp180]}
      ]
    ]
  ]
)
Introduction
This notebook demonstrates how to read temperature, humidity etc from Bosch environment sensors. Our Nerves target device will communicate with a sensor board using the I2C protocol.
We need a few libraries for using a Bosch environment sensor in this notebook:
- The circuits_i2c package allows us to communicate with hardware devices using the I2C protocol
- The experimental circuits_sim package provides simulated I2C devices
- The bmp3xx package abstract the logic to use Bosch environment sensor boards
The bmp3xx package support various environment sensors including:
- BMP180
- BMP280
- BMP384
- BMP388
- BMP390
- BME280
- BME680
Running this notebook on the Nerves Livebook firmware, you can access directly to the real sensor board.
If you don’t have a real sensor board, don’t worry. It’s possible to work with a simulated device that is configured in the setup section above.
i2c_backend_select_form =
  Kino.Control.form(
    [
      i2c_backend:
        Kino.Input.select(
          "I2C backend",
          [
            {CircuitsSim.I2C.Backend, "Simulated I2C"},
            {Circuits.I2C.I2CDev, "Real I2C"}
          ]
        )
    ],
    submit: "Select I2C backend"
  )

Kino.render(i2c_backend_select_form)

Kino.listen(i2c_backend_select_form, fn event ->
  selected_backend = event.data.i2c_backend
  Application.put_env(:circuits_i2c, :default_backend, selected_backend)
  IO.puts("Selected I2C backend: #{selected_backend}")

  case selected_backend do
    CircuitsSim.I2C.Backend ->
      sensor_type_select_form =
        Kino.Control.form(
          [
            sensor_type:
              Kino.Input.select("Sensor type", [
                {:bmp180, "bmp180"},
                {:bmp280, "bmp280"},
                {:bmp380, "bmp380"},
                {:bme280, "bme280"},
                {:bme680, "bme680"}
              ])
          ],
          submit: "Select sensor type"
        )

      Kino.render(sensor_type_select_form)

      Kino.listen(sensor_type_select_form, fn event ->
        selected_sensor_type = event.data.sensor_type
        IO.puts("Selected sensor type: #{selected_sensor_type}")

        [{_, i2c_server, _, [CircuitsSim.I2C.I2CServer]}] =
          Supervisor.which_children(CircuitSim.DeviceSupervisor)

        :sys.replace_state(
          i2c_server,
          &%{&1 | device: CircuitsSim.Device.BMP3XX.new(sensor_type: selected_sensor_type)}
        )

        Circuits.I2C.detect_devices()
      end)

    Circuits.I2C.I2CDev ->
      Circuits.I2C.detect_devices()
  end
end)
Basic usage
The basic usage only takes two steps:
- start a BMP3XX server
- read output
stop_bmp3xx = fn _event ->
  if Process.whereis(BMP3XX) do
    GenServer.stop(BMP3XX)
    IO.puts("BMP3XX was stopped")
  end
end

start_bmp3xx = fn _event ->
  stop_bmp3xx.([])
  BMP3XX.start_link(bus_name: bus_name, bus_address: bus_address, name: BMP3XX)
end

start_button = Kino.Control.button("Start BMP3XX")
Kino.listen(start_button, start_bmp3xx)

stop_button = Kino.Control.button("Stop BMP3XX")
Kino.listen(stop_button, stop_bmp3xx)

Kino.Layout.grid([start_button, stop_button], columns: 2)BMP3XX.measure(BMP3XX)Optionally, you can force the altitude to a known value.
BMP3XX.force_altitude(BMP3XX, 100)For details, refer to the API reference.
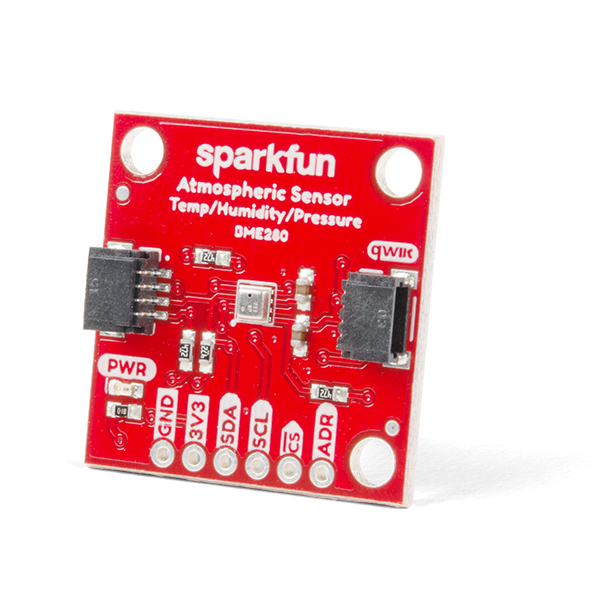
Hardware
For the curious, here is some information about the Bosch environment sensors.
- Sparkfun’s BME68x(Qwiic) Hookup Guide
- BMP180 data sheet
- BMP280 data_sheet
- BMP388 data_sheet
- BME280 data_sheet
- BME680 data_sheet
For a hands-on Nerves tutorial, checkout this book.


